Using VS Code on Linux
Last updated: 2022-02-20
This tutorial was tested on Ubuntu 20.10, but it should work too on other versions or distributions. You'll have to install packages manually if you don't have apt.
- Clone the repository by
git clone --recurse-submodules -j8 https://github.com/bb1950328/BrickSim.git - Run
setup_workspace.sh - Install VS Code via a way described in the offical VS Code docs
- Open VS Code and install the
ms-vscode.cpptoolsandms-vscode.cmake-toolsextensions - Press Ctrl + Shift+ P and type "preferences: Open Settings (JSON)"

Hit Enter or click the first result and add the following text:1 2 3 4 5 6{ "cmake.buildDirectory": "${workspaceFolder}/cmake-build", "cmake.debugConfig": { "cwd": "${workspaceFolder}" }, } - Open the BrickSim folder in VS Code. You should get a notification like this one:
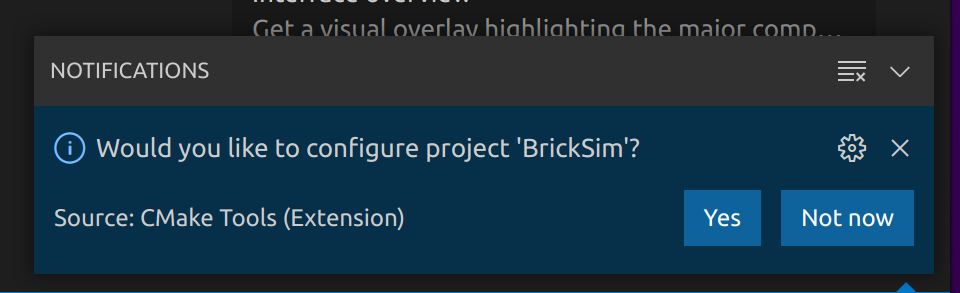 Click "Yes" on that notification
 - You will get a prompt looking like this:
 Select the one with
 /bin/gcc, the second last element on this screenshot - The "Play" button in the bottom status bar doesn't choose the correct working directory
as described in microsoft/vscode-cmake-tools#1395
You have to run it from the menu on the left side: