Using XCode on macOS
Last updated: 2022-02-20
- Download XCode from the AppStore if you haven't already
- Execute the following command to install the XCode command line tools if you haven't already:
sudo xcode-select --install
- Execute the following command to install the XCode command line tools if you haven't already:
- Clone the repository. The cloning feature of XCode did't work correctly on my machine, so I cloned it from the command line:
git clone --recurse-submodules -j8 https://www.github.com/bb1950328/BrickSim.git - In the terminal, navigate to the cloned folder and execute
./setup_workspace.sh - Install CMake. You can install the CMake GUI from here or just the command line version with
brew install cmake - Then you can generate the XCode project files.
If you have the CMake GUI, you can configure the project like this:
- Set the path of the directory you just cloned BrickSim into:
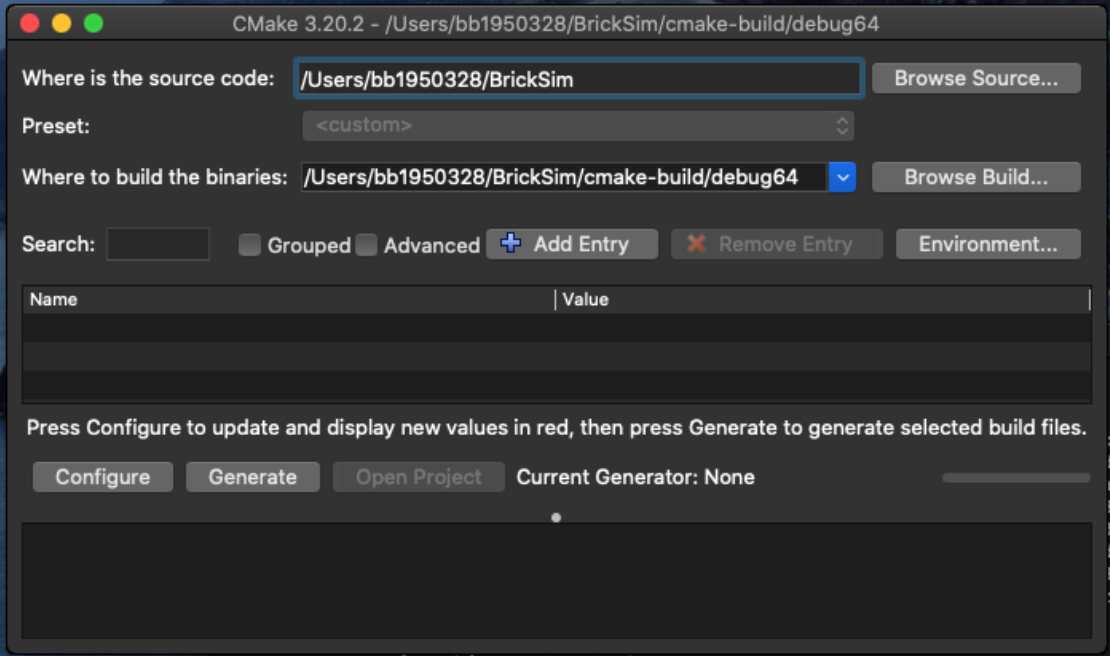
- Click on "Configure" (Click on "Yes" if the question "Build directory does not exist, should I create it?" pops up:
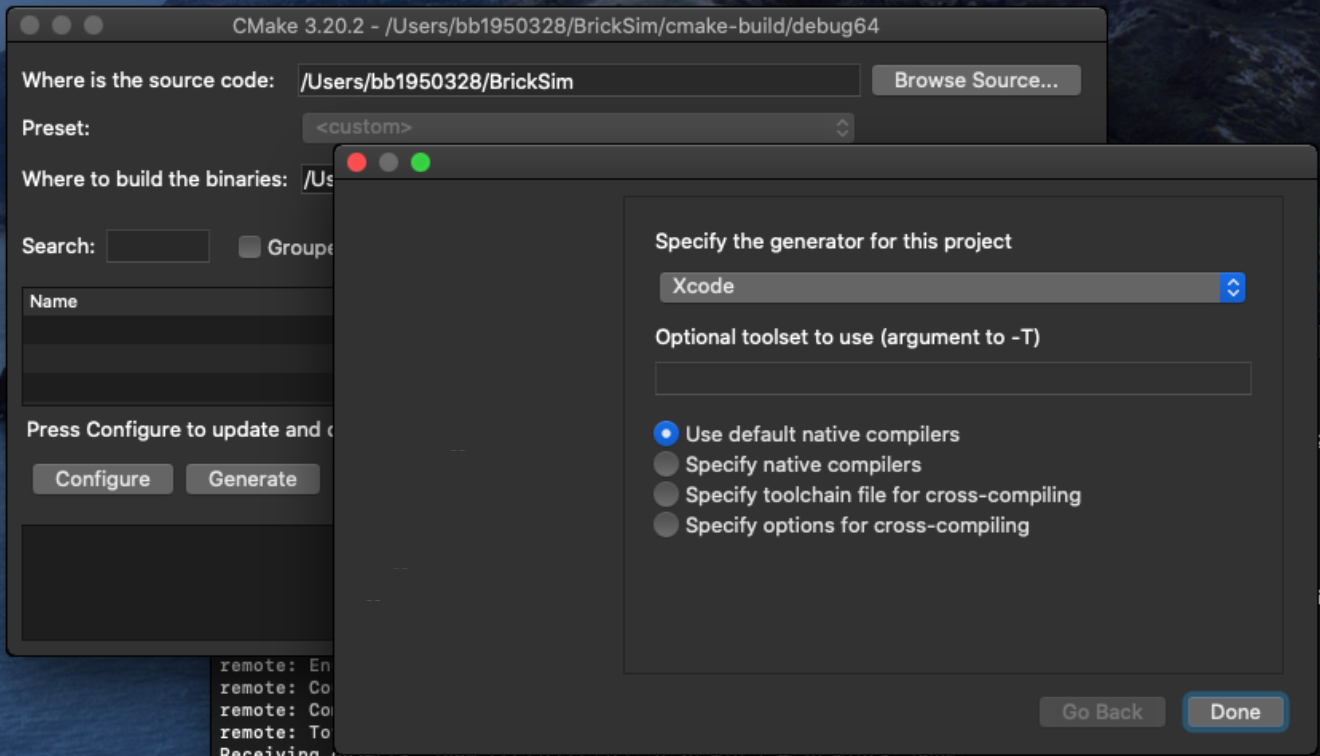
- Click on "Done" after setting the generator to "Xcode". After waiting a minute, the window should look like this:

- Check the log in the lower part of the window. Warnings are OK, errors are not. When there are no errors, click the "Generate" Button.
- The "Open Project" Button isn't greyed out anymore, and you can click it too.
- Set the path of the directory you just cloned BrickSim into:
If you have the command line cmake, execute the following commands:
1
2
3
mkdir -p cmake-build cd cmake-build cmake -G Xcode ..(you have to be inside the
BrickSimdirectory initially) Then you can open the project in Xcode.
- When Xcode has loaded the project, you have to switch the target to BrickSim:
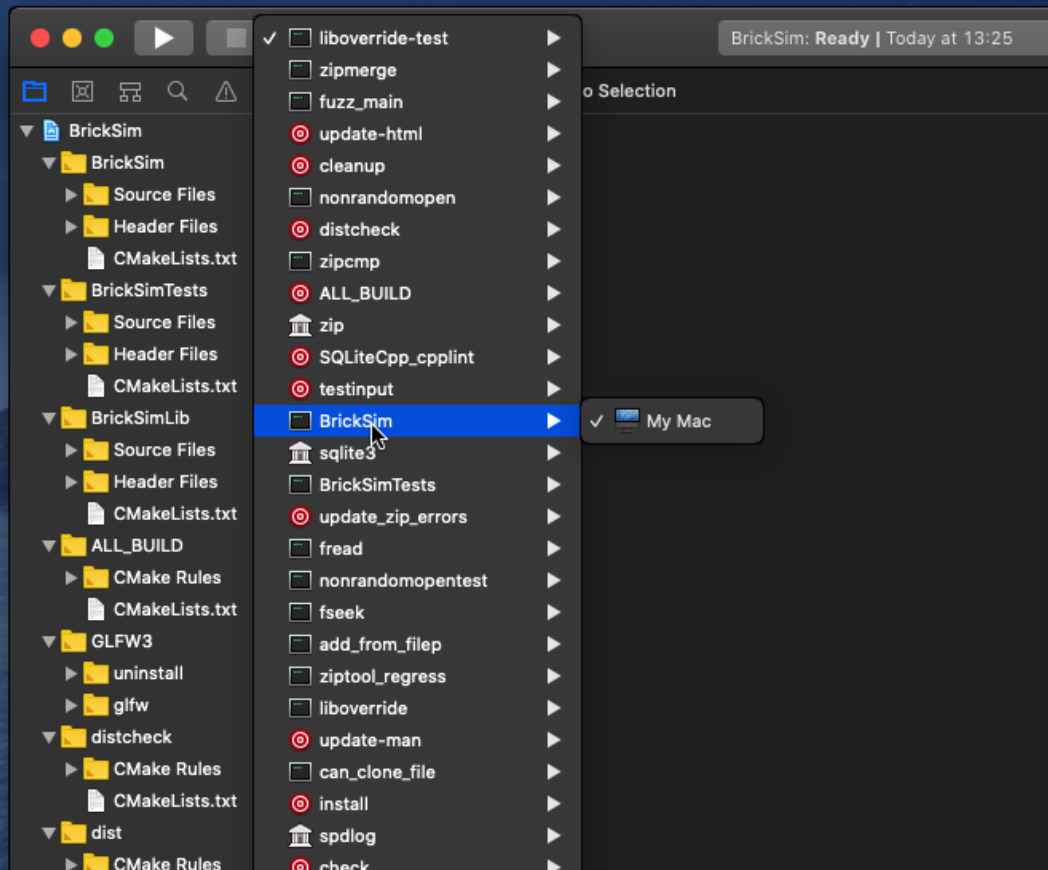
- After that, you should be able to build and run BrickSim. Happy coding!